Raspberry Pi Poller Installation for Centreon 23.10 (Testing and Unstable Repository)
Before we dive into the installation process, here's a handy tip: You can easily set up a Raspberry Pi collector, even if your central server runs version 23.04.x of Centreon.
Step 1: Download the Unattended.sh Script
Begin by downloading the essential script. Open your terminal and navigate to the temporary directory:
cd /tmp
wget https://raw.githubusercontent.com/centreon/centreon/develop/centreon/unattended.sh
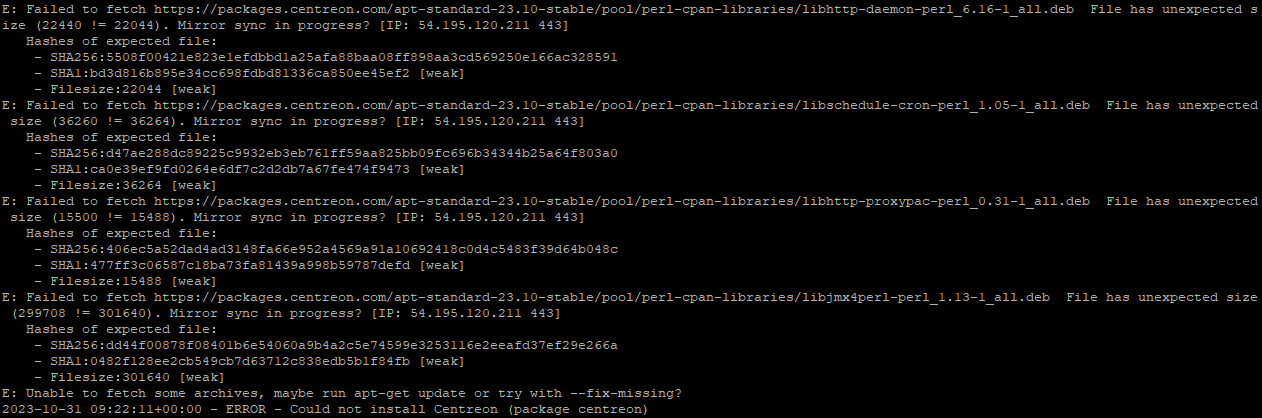
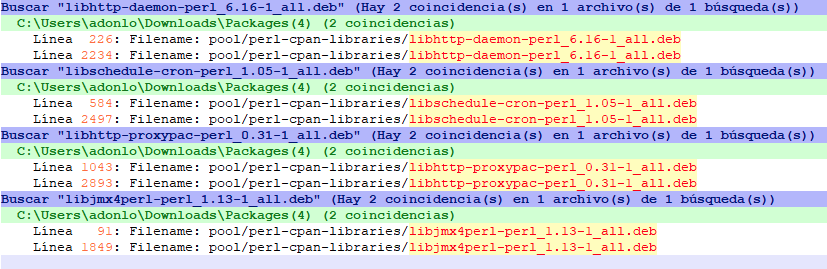
Step 2: Install Centreon
Install Centreon with a breeze using the following command. It's as simple as running this script:
bash /tmp/unattended.sh install -t poller -v 23.10 -r unstable -l DEBUG 2>&1 |tee -a /tmp/unattended-$(date +"%m-%d-%Y-%H%M%S").log
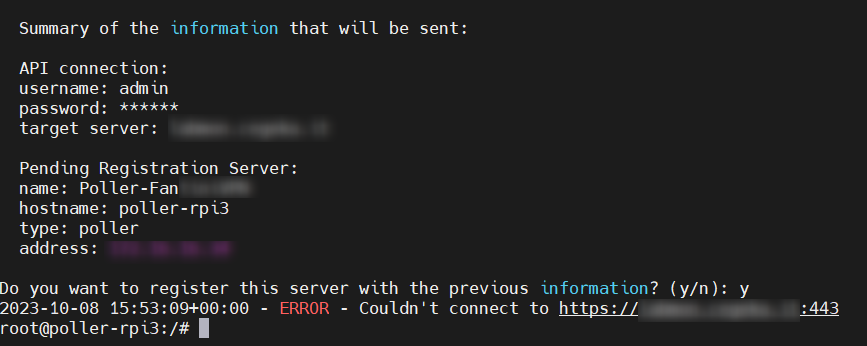
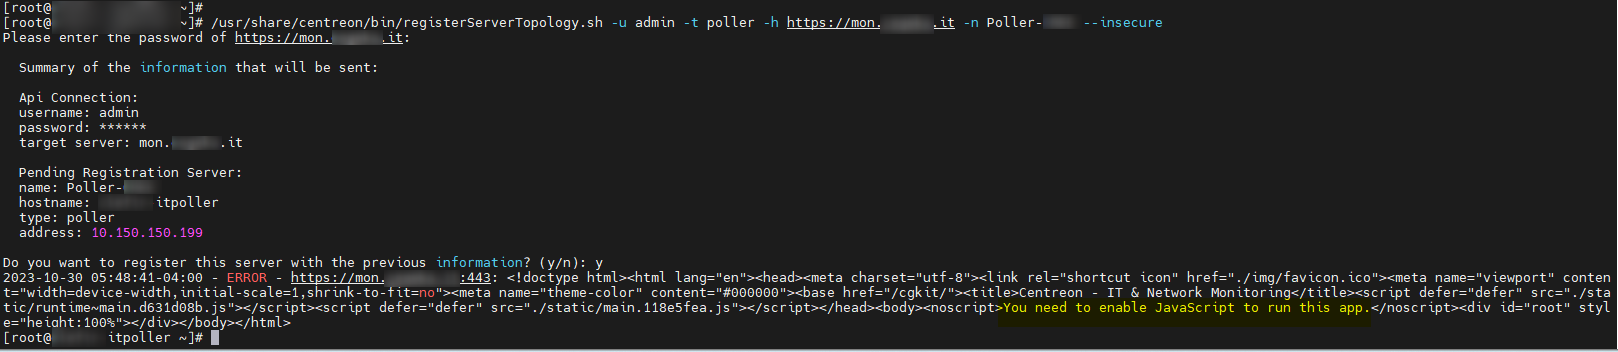
Step 3: Register Your Poller
Connect your poller to the central server with this quick command. Replace <API_ACCOUNT>, <IP_TARGET_NODE>, and <POLLER_NAME> with your specific details:
bash /usr/share/centreon/bin/registerServerTopology.sh -u <API_ACCOUNT> -t poller -h <IP_TARGET_NODE> -n <POLLER_NAME>
Step 4: Continue with Centreon's Official Documentation
Now that your poller is up and running, it's time to explore Centreon's official documentation for more in-depth guidance.
Step 5: Start Monitoring Resources
Follow the documentation's instructions to kickstart your resource monitoring journey. You're on your way to efficient Raspberry Pi-based monitoring with Centreon!
With these simplified steps, you'll have your Raspberry Pi poller set up and ready to monitor in no time.
Enjoy monitoring with Centreon 23.10!