Please note that the only procedures supported and maintained by Centreon are those published in the official documentation. If you have a question about this article, post it in the comments.
Part 1
In this article we will see how to configure VMWare monitoring on Centreon.
First of all the following prerequisites have to be set in order to make the plugin work :
Go to configuration > plugin-pack, and search for VmWare. Download the following packs :
- VMware VM
- VMware ESX
- VMware Vcenter v6
Centreon VMWare Connector
For the VMWare monitoring, Centreon use daemon to connect and request the Vcenter.
Install this daemon on each needed poller:
yum install centreon-plugin-Virtualization-VMWare-daemon
Then, we have to configure the access to your infrastructure, edit the "/etc/centreon/centreon_vmware.pm" configuration file:
%centreon_vmware_config = (
    vsphere_server => {
        default => {
            url => 'https://<ip_hostname>/sdk',
            username => '<username>',
            password => '<password>'
        }
    }
);
1;
Make sure to replace variables with needed information:
- ip_hostname: IP address or hostname of the vCenter or ESX (if standalone),
- username: username with at least "read only" access to the vCenter or ESX (you can use domain user),
- password: password of the username.
You can configure multiple vCenter or ESXi connections using this structure:
%centreon_vmware_config = (
    vsphere_server => {
        'my_first_vcenter' => {
            url => 'https://<ip_hostname>/sdk',
            username => '<username>',
            password => '<password>'
        },
        'my_other_vcenter' => {
            url => 'https://<ip_hostname>/sdk',
            username => '<DOMAIN>\<username>',
            password => '<password>'
        },
    },
    port => 5700
);
1;
Each entry is called a container.
You can also define the "port" attribute to change listening port.
Then we can start the daemon and make sure it is configured to start at server boot:
systemctl start centreon_vmware
systemctl enable centreon_vmware
Make sure that the daemon configuration works fine by looking for errors in "/var/log/centreon/centreon_vmware.log".
To test the configuration we can execute the following command:
/usr/lib/centreon/plugins/centreon_vmware_connector_client.pl --plugin=apps::vmware::connector::plugin --container=default --connector-port=5700 --connector-hostname=localhost --mode=discovery --resource-type='esx' --prettifyThe list of available ESX servers must be present. Use ‘vm’ in --ressource-type to se VMs list.
Part 2
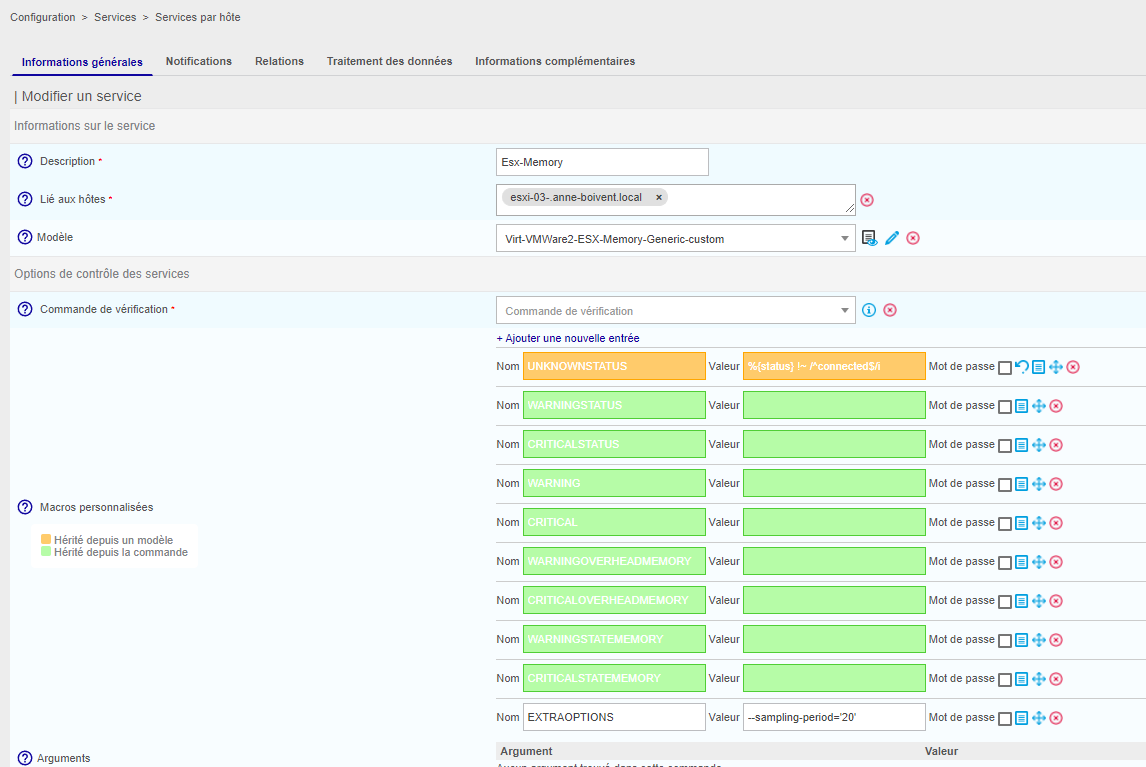
Once the configuration is over, we can add VMware object to the supervision like :
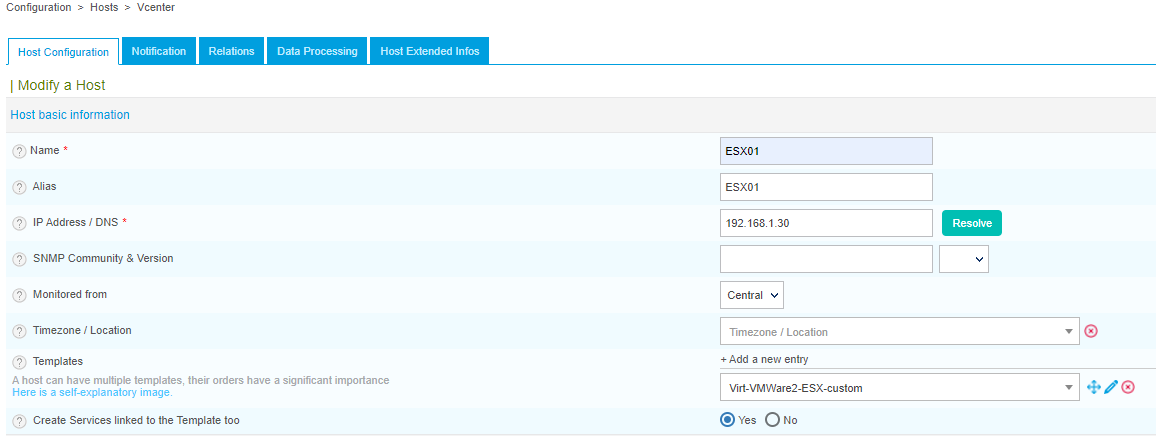
Configure the Macros with the right settings:

Here ‘default’ is the container name
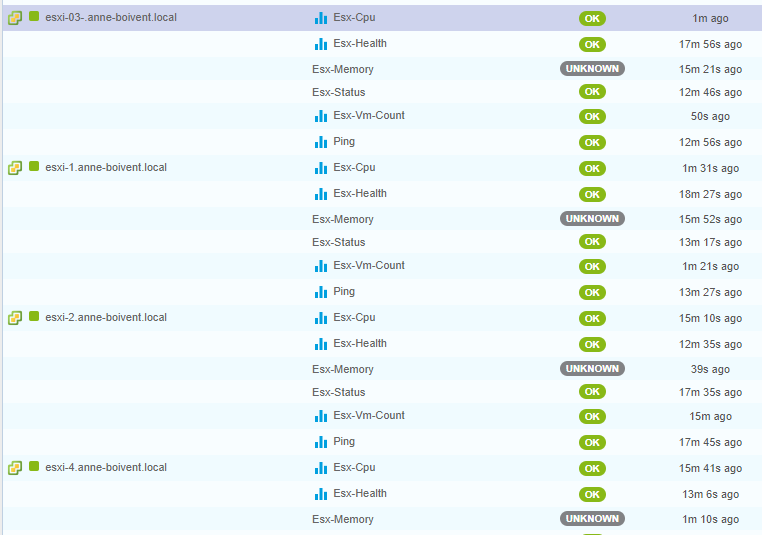
Once the form saved, Centreon created automatically several indicators to monitor to this ESX server.
After adding the object to our supervision we can export the poller configuration as usual.
Part 3 : Autodiscovery
Prerequisites :
- Part 1
- In this part lets admit that you did configure a user that have access to Api configuration, in this file (in the Central) : /etc/centreon-gorgone/config.d/31-centreon-api.yaml
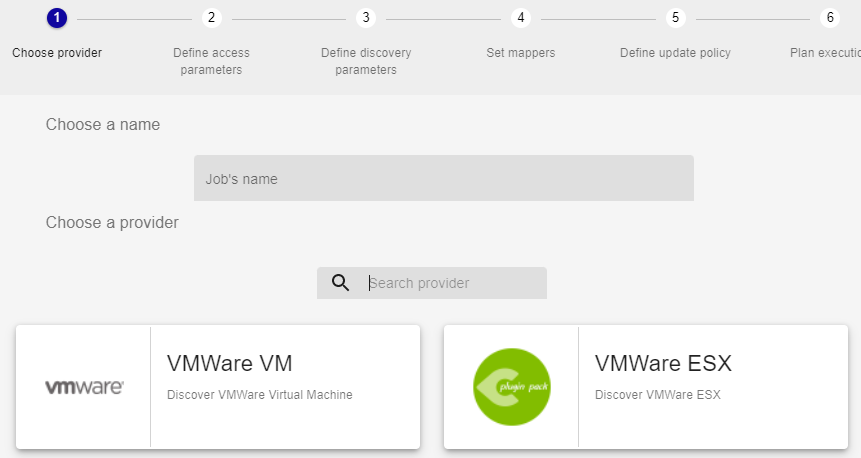
To create a host discovery rule go to Configuration > Hosts > Discovery and click add.
Select either if you want to discover VM or ESX and click next.
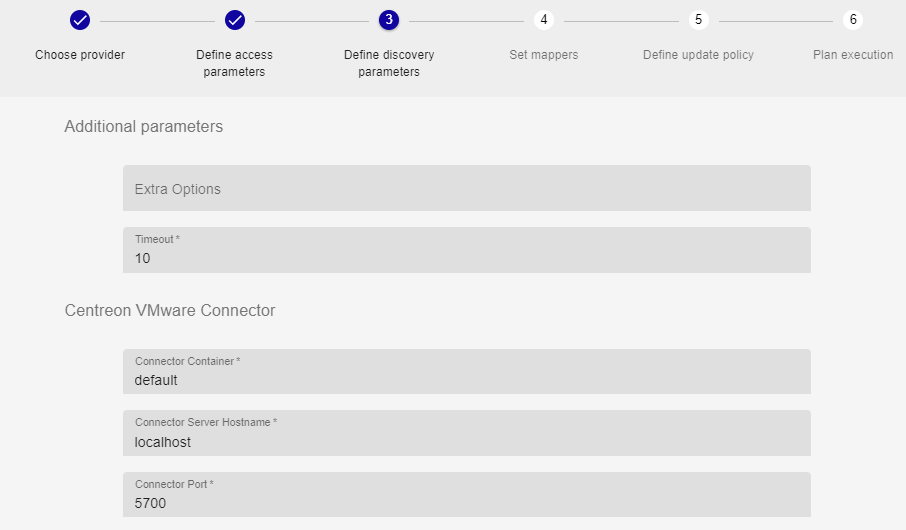
Then you are invited to select from which poller the discovered items will be monitored.
Here, make sure you put the good container name :
We are not going to set mappers here. They allows you to customize your discovery rules (discover only started VM etc...). Click next.
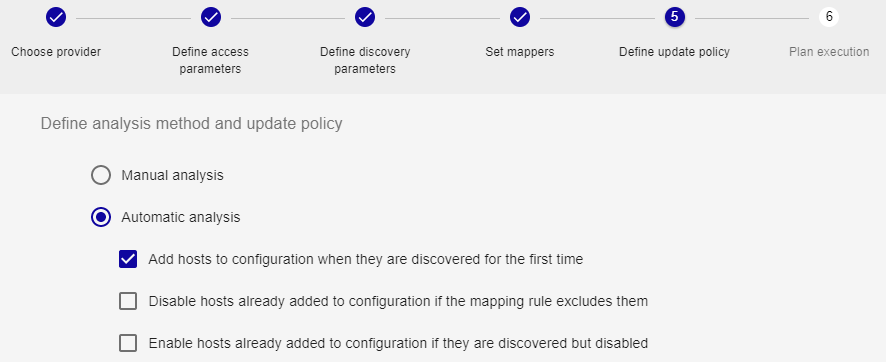
Now you can choose a manual analysis, it means that once the items are discovered you will be able to add manually what you want to th supervision.
Or you can choose Automatic analysis, it means that items will be automatically added to the supersvion once they are discovered for the first time :
Finally you have to choose between an immediate execution or a scheduled one. I will chose a immediate execution so the autodiscovery will start asap.
Here is the result 45 vm were discovered in my vcenter :

We can display the result by clicking on the arrow and select which VMs we want to import then click save :
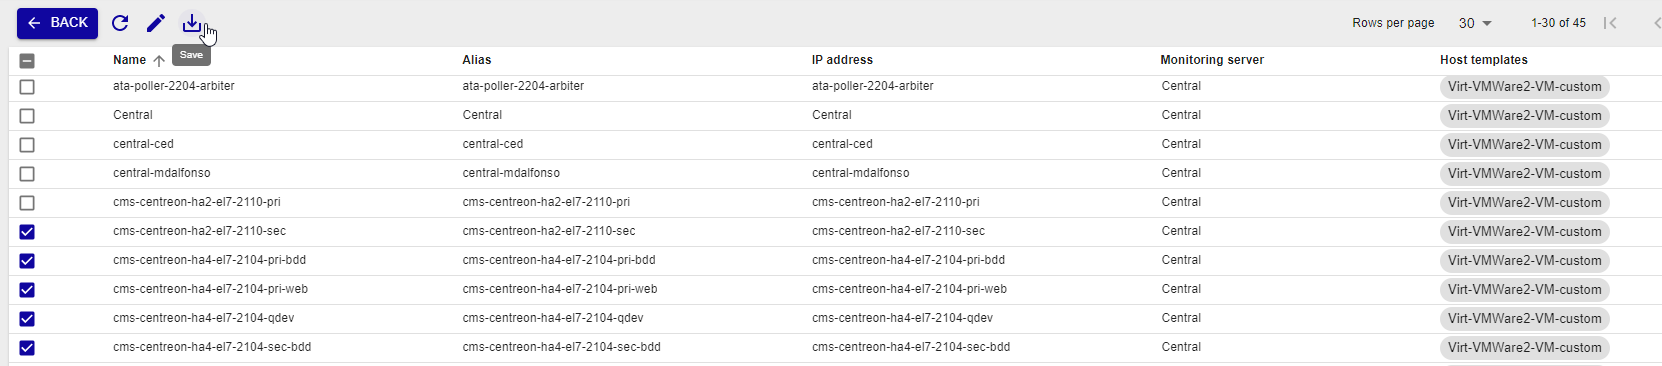
There we go ! we can now export the poller’s configuration as usual