

Please note that the only procedures supported and maintained by Centreon are those published in the official documentation. If you have a question about this article, post it in the comments.
For some time you could only discover devices using v1 or v2 SNMP versions.
As a result of some feedback from users and customers, we added the capability to run a discovery job using SNMP v3 credentials.
As the v3 version of SNMP is very different from the previous versions, we decided to build a separate provider.
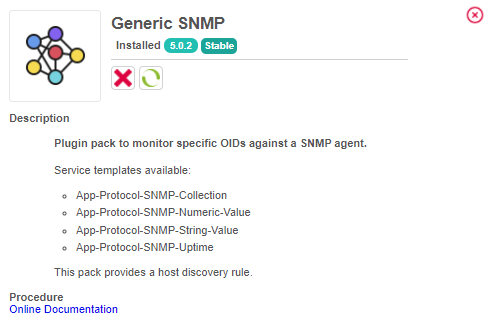
Install the Pack and the Plugin
If you don’t already have it, install the following Plugin Pack and Plugin on your central server.
[user@poller] sudo yum install centreon-plugin-Operatingsystems-Linux-Local centreon-pack-applications-protocol-snmp
If you’re running Centreon on a distributed architecture, install the Plugin from where you want to discover SNMPv3 enabled devices.
[user@poller] sudo yum install centreon-plugin-Operatingsystems-Linux-Local
Minimum supported versions are:
- centreon-pack-applications-protocol-snmp >= 5.0.0
- centreon-plugin-Operatingsystems-Linux-Local >= 20211102-130335
Create your discovery rule
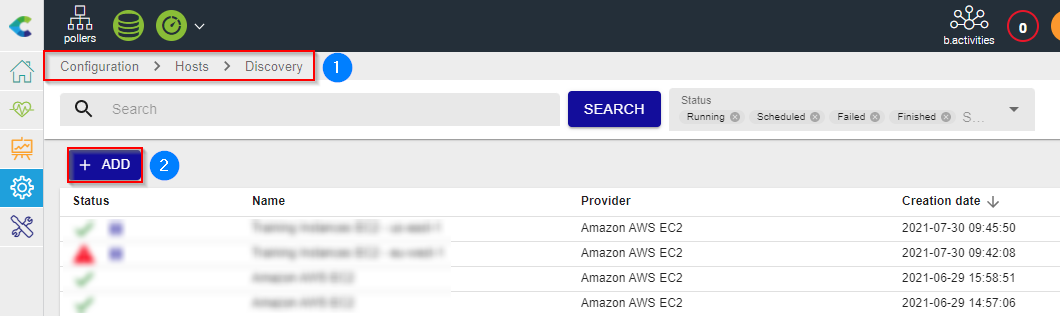
As for every other discovery enabled Plugin Pack, go to “Configuration > Host > Discovery” and add one new rule.
Choose a name and then select the “SNMP v3 Agents”.
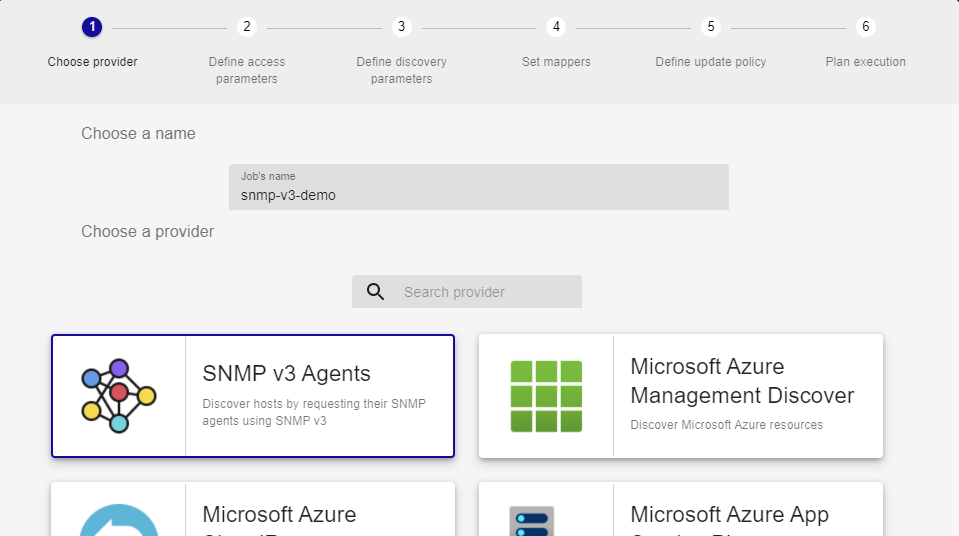
Click “Next” to reach the second step of the rule’s configuration.
Step 2 allows you to choose from which Poller you want to discover devices and configure your credentials.
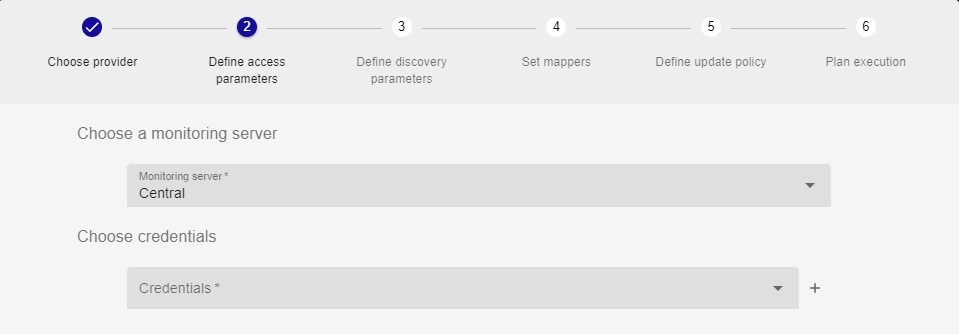
If you didn’t run any SNMP v3 discovery before, or if you need to add new credentials, use the “+” sign on the right.

Depending on how you configure SNMP credentials on your devices, you can report this configuration here:
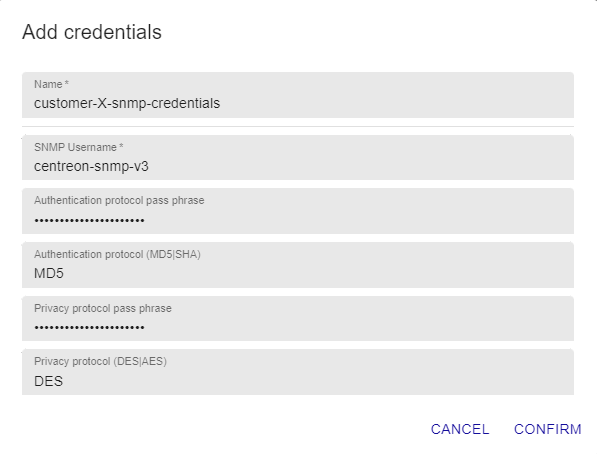
Confirm your credentials and click Next.
The third step contains the following parameters:
- Additional parameters, configure the timeout to apply to each request.
- Network to discover, define the network mask to discover.
- SNMP Agent configuration, if you don’t use the default SNMP port number, customise your own.
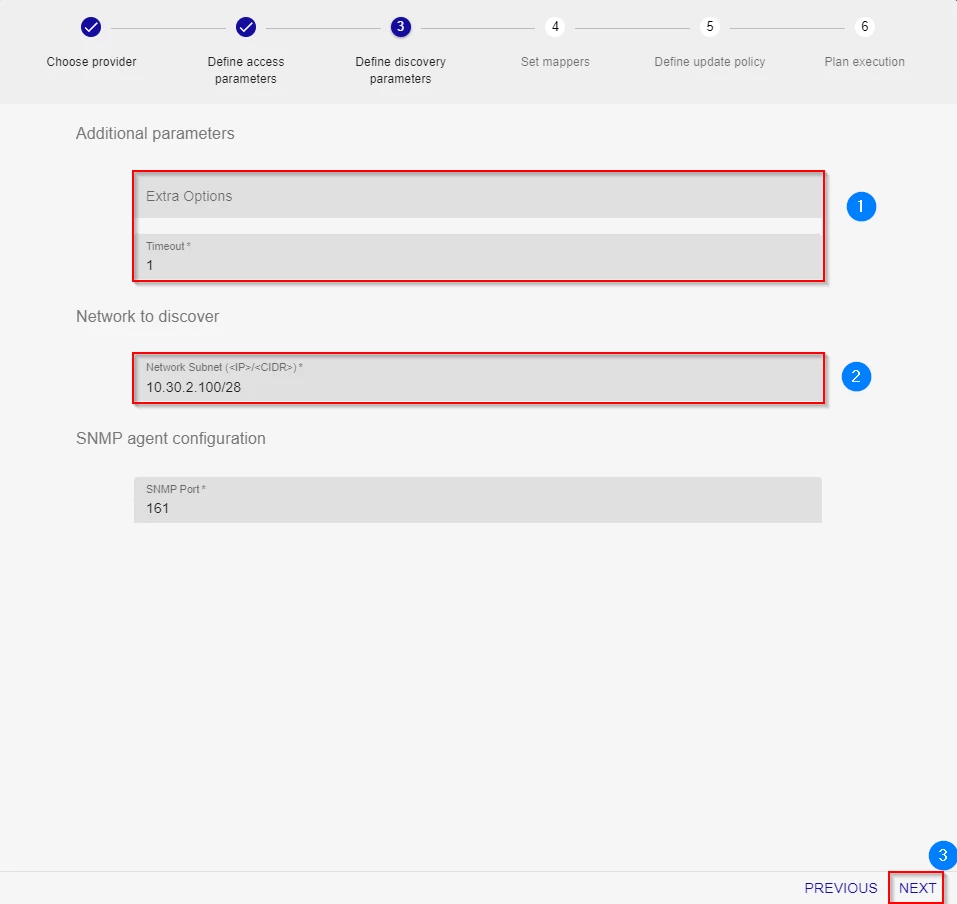
We strongly recommend you avoid discovering from a very large network range. It will take a lot of time and you’ll probably run into some timeout at gorgoned level.
The fourth step is about the “Mappers”, it allows you to do a lot of things like
- prefixing or suffixing hostnames
- replacing default template association with custom ones
- excluding some type from the discovery (in this example, we exclude Cisco devices).
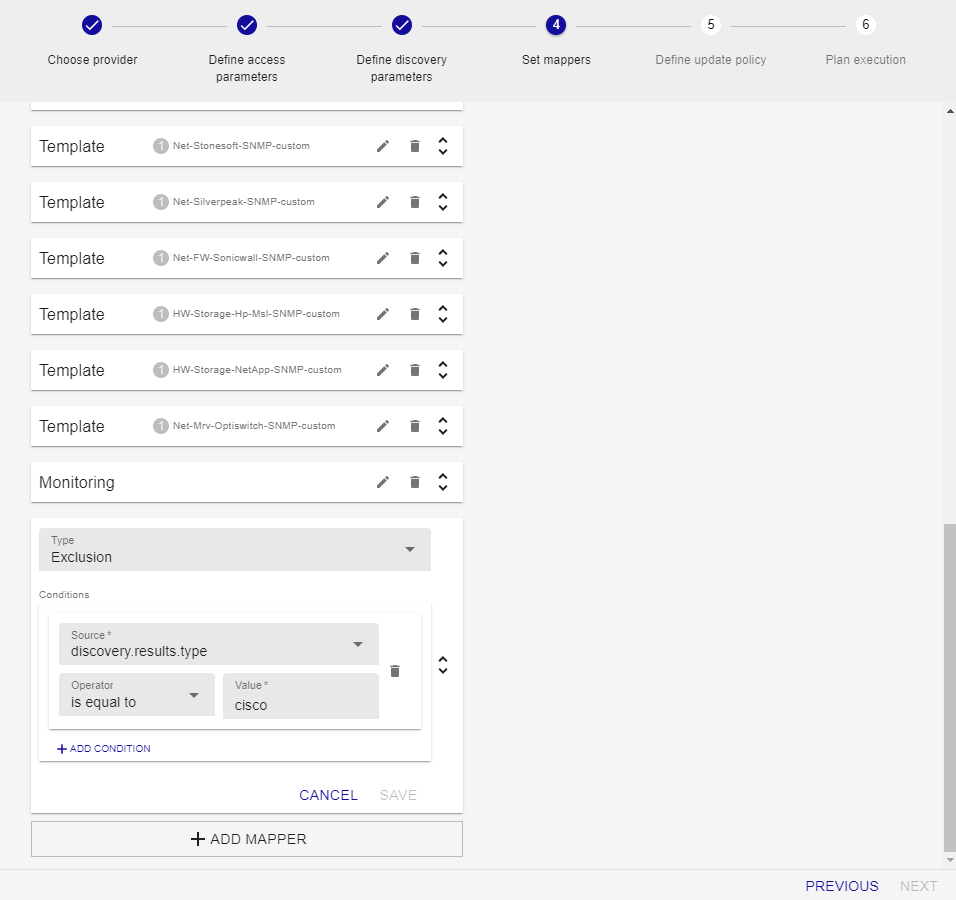
Save your modifications at the Mapper level and then click Next.
Go through step 5 to define if you want automatic analysis or manual one (review before adding Hosts).
The last step is to specify if you’re going to run the job once or at a specific interval.
If you’ve selected the “Execute immediately” option, the job will run right after clicking “Finish”.

Display the results
Once the job execution is successfully executed, a tick appears:

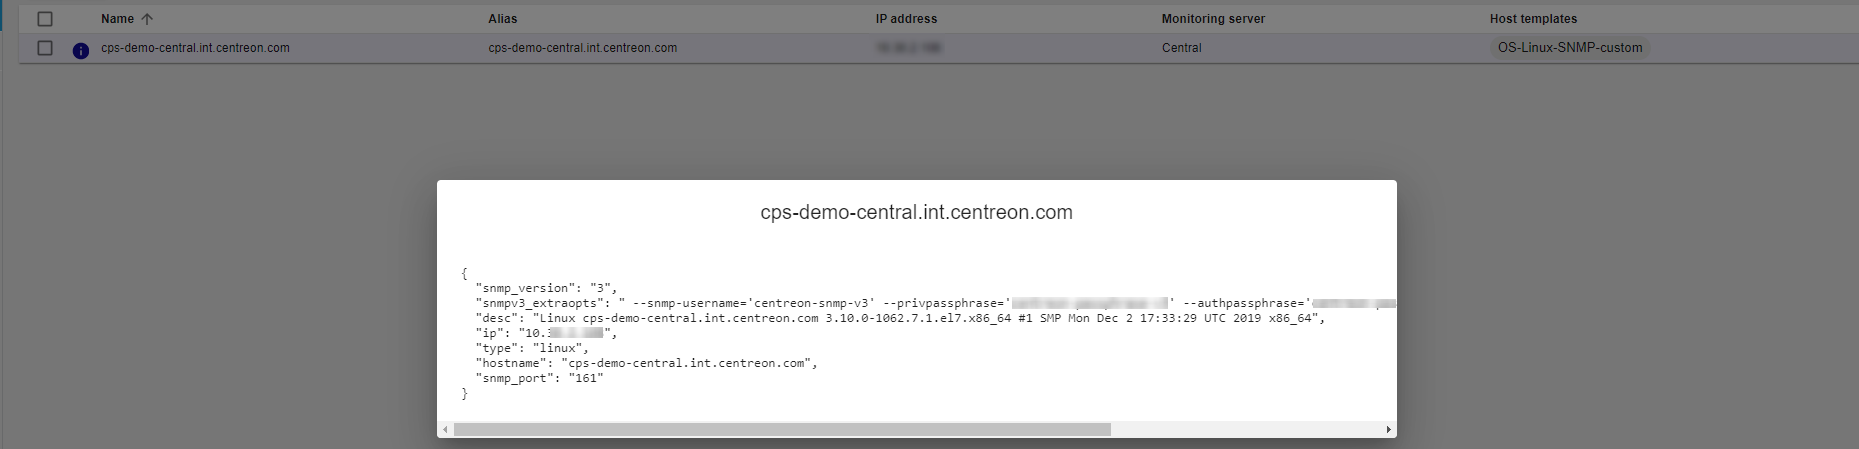
You can now display the results with a mouse-over the job line and a click on the arrow:

As you can see, we discovered a Linux Server and the rule automatically applied the suitable template.
In case of available mappers didn’t associate a template, you can display the raw data from the discovery to figure out which one apply by yourself.
Valuable takeaways
You can use only one set of credentials, it means that:
- you will have to create one discovery rule per credentials or devices to be discovered should share the same SNMP v3 credentials configuration
You must not monitor large network range cause it will take a lot of time (Number of IP * value of the timeout)
You might have to manually tune mappers configuration to associate the right template to a discovered device. When you configure a mapper that could be used by other users, it would be amazing that you share it through a dedicated topic or track an issue on the centreon-plugins github.
Centreon Support does not actively maintain knowledge articles. If you have questions or require assistance with an article, please create a case or post a comment below.